SwaggerConfig 라는 자바 클래스를 생성하고 build.gradle에 종속성 추가를 한다.
1. build.gradle 에 종속성 추가

implementation 'io.springfox:springfox-swagger2:2.9.2'
implementation 'io.springfox:springfox-swagger-ui:2.9.2'
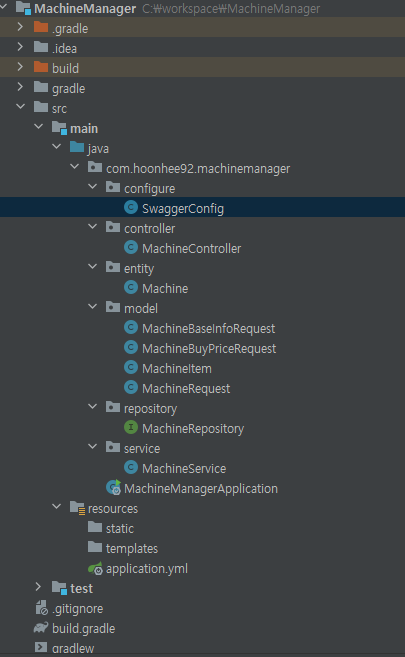
2. 프로젝트에 configure 패키지 추가 후 SwaggerConfig.java 생성
import org.springframework.context.annotation.Bean;
import org.springframework.context.annotation.Configuration;
import springfox.documentation.builders.PathSelectors;
import springfox.documentation.builders.RequestHandlerSelectors;
import springfox.documentation.service.ApiInfo;
import springfox.documentation.service.ApiKey;
import springfox.documentation.service.Contact;
import springfox.documentation.spi.DocumentationType;
import springfox.documentation.spring.web.plugins.Docket;
import springfox.documentation.swagger2.annotations.EnableSwagger2;

import java.util.ArrayList;
import java.util.Collections;

@Configuration
@EnableSwagger2
public class SwaggerConfig {
    private String version;
    private String title;
    private final String TITLE_FIX = "차량 관리 API ";

    @Bean
    public Docket apiV1() {
        version = "V1";
        title = TITLE_FIX + version;

        return new Docket(DocumentationType.SWAGGER_2)
                .useDefaultResponseMessages(false)
                .groupName(version)
                .select()
                .apis(RequestHandlerSelectors.basePackage("com.example.commonTest1"))
                .paths(PathSelectors.ant("/v1/**"))
                .build()
                .apiInfo(getApiInfo(title, version))
                .securitySchemes(Collections.singletonList(getApiKey()))
                .enable(true);
    }

    @Bean
    public Docket apiV2() {
        version = "V2";
        title = TITLE_FIX + version;

        return new Docket(DocumentationType.SWAGGER_2)
                .useDefaultResponseMessages(false)
                .groupName(version)
                .select()
                .apis(RequestHandlerSelectors.basePackage("com.example.commonTest1"))
                .paths(PathSelectors.ant("/v2/**"))
                .build()
                .apiInfo(getApiInfo(title, version))
                .securitySchemes(Collections.singletonList(getApiKey()))
                .enable(true);
    }

    private ApiInfo getApiInfo(String title, String version) {
        return new ApiInfo(
                title,
                "Swagger API Docs",
                version,
                "moonmrim.com",
                new Contact("mmr", "moonmrim.com", "privsq@gmail.com"),
                "Licenses",
                "moonmrim.com",
                new ArrayList<>()
        );
    }

    private ApiKey getApiKey() {
        return new ApiKey("jwtToken", "X-AUTH-TOKEN", "header");
    }
}
이름, 패키지 이름 등을 바꾸고 ApiInfo를 수정한다.
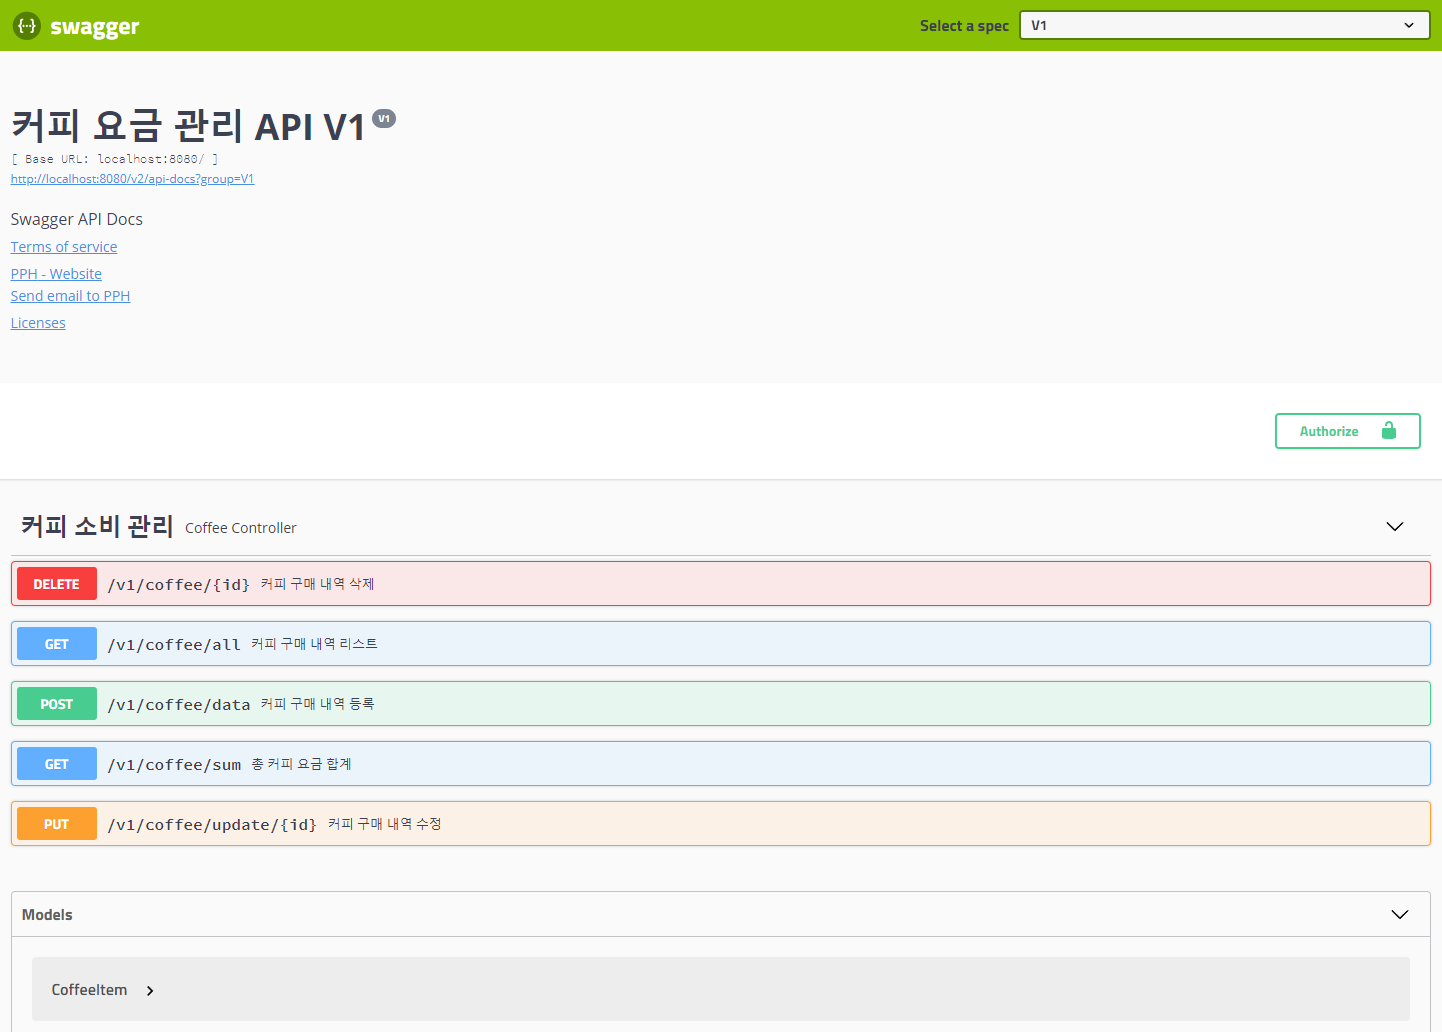
위와 같이 Swagger 페이지에 들어가기 위해서는 localhost로 접속하여 프로그램을 실행 시켜볼 수 있다.
어노테이션 목록
@Api (tags = " ") : Swagger 대제목을 설정할 수 있다.
@ApiOperation (value = " ") : 기능별 제목을 설정할 수 있다.
@ApiModelProperty (note = " ", required = true) : 받는 값의 속성을 변경하거나 기록할 수 있다.
'웹 개발자 교육 내용 정리' 카테고리의 다른 글
| 자바 스프링 : #8 데이터 무결성 (0) | 2023.07.10 |
|---|---|
| 자바 스프링 : #7 CRUD (R) - 통계 기초 (0) | 2023.07.10 |
| 자바 스프링 : #5 CRUD - Vaild (0) | 2023.06.29 |
| 자바 스프링 : #4 CRUD - Create (2) (0) | 2023.06.28 |
| DataGrip 설정 (0) | 2023.06.27 |